Color
Stain Your Fence Like a Pro Just in Time for a Fall Makeover
How to Efficiently Stain Your Fence Like a Pro
A Weekend Project That Protects and Beautifies Your Fence
If you want to protect wood and refresh curb appeal, it’s time to stain your fence. This simple DIY project can transform even the dullest backyard. Whether you’re refreshing an old finish or applying stain for the first time, the right approach makes all the difference.
Prep Your Fence for Success
Start by clearing brush and debris. Then pressure wash the fence to remove grime, dirt, and mildew from the wood surface.
Let the wood dry fully before continuing. Moisture blocks stain absorption and reduces longevity.
Inspect for damage next. Replace rotted boards and patch cracks with outdoor-grade filler to ensure a smooth finish.
Don’t forget to test if new wood is ready—sprinkle water on it. If it soaks in, you’re good to go.
Apply the Stain Smoothly and Evenly
Now it’s time to stain your fence. Mix the stain well without shaking it to prevent bubbling in the sprayer.
Use a sprayer for even coverage, or a roller if preferred. Move steadily and keep a wet edge with each pass.
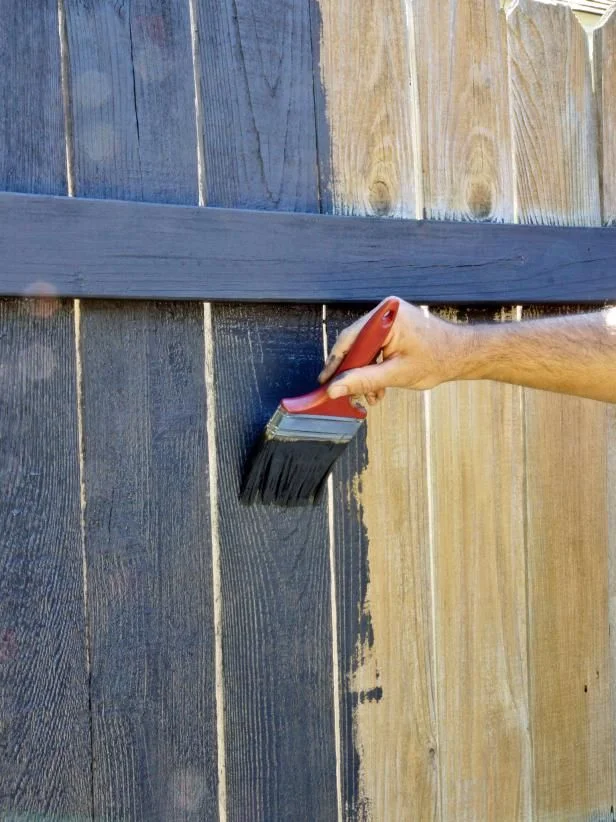

Apply multiple light coats instead of one thick one. This helps avoid drips and ensures deeper, longer-lasting protection.
Let the stain dry fully before applying a second coat or sealer.
Final Tips to Keep It Looking Fresh
Use high-quality stain with built-in sealer for extra protection. Also, avoid staining during rainy or humid conditions.
Reapply stain every three to five years for a fence that stays strong and beautiful year-round.
Want more helpful tips for home projects?
Explore more how-tos, DIY guides, and renovation insights—right here on our website.